DX,STD (DPFI) -> Si,HX (MPFI) wiring
PARTS/TOOLS NEEDED Prices may vary depending on where you go)
- Si ECU(PM6 for manual transmission)-----$75-$120
- Si Distributor--------------------------------$50-$120
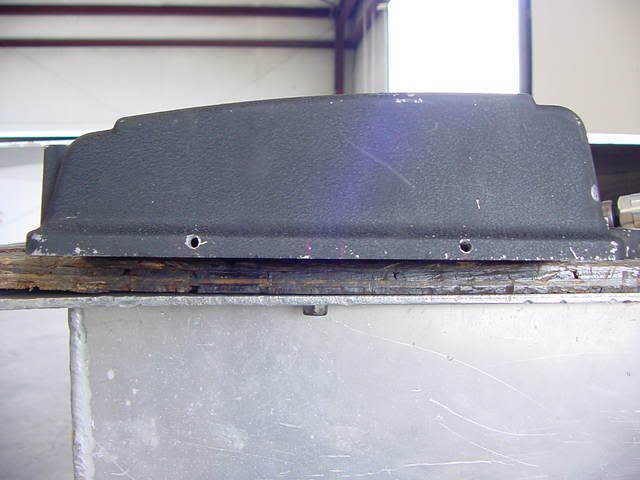
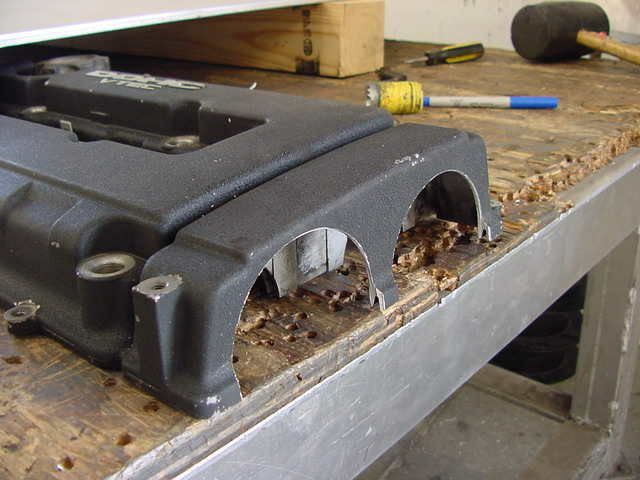
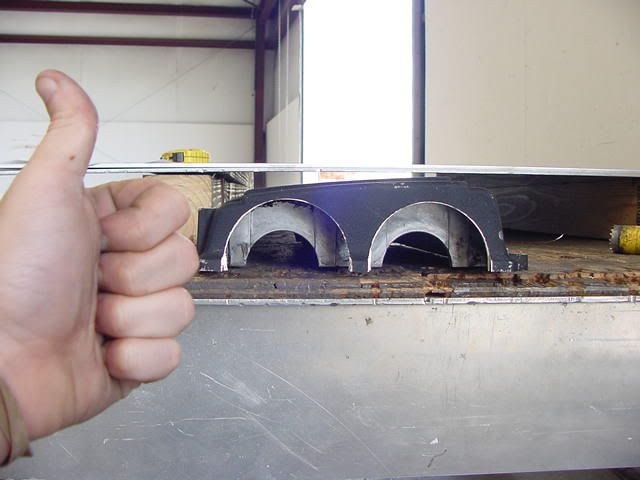
- MPFI intake manifold - including throttle body, fuel rail, injectors----$70-$90
- Resistor Box(88-91 Si)------$20-$40
- Si wiring harness(needed for injector plugs, injector resistor box plug, and distributor plug)-----$0-$10
- Intake manifold gasket- (not needed but recommended)-----$15-$20
- Manifold Support Bracket ------$0-$10
- Si fuel line from filter to fuel rail-----$0-$5
- some extra wire ------$3-$7
- electrical tape or heat shrink(better)------$1-$10
- wire stripper/cutter------$5-$15
- soldering gun and solder(not needed but highly recommended)------$10-$18
Parts could cost anywhere between $230-$405 depending on what kinds of deals you can find and where you get them from, it may also be cheaper if you buy everything from one person all at once
It is much easier to use your existing DPFI harness and just add the extra 4 wires that will be needed. The Si harness will be much harder to use.
There are two major wiring changes that you'll have to do going from a DPFI system to an MPFI and a couple other minor things that need to be done too. The first one is the crank angle sensor wiring which is the easy part. The second one is the fuel injector wiring which is slightly more complicated. Also, you'll have to switch the two wires on the TPS because the TPS on the new intake works in the opposite direction. If you dont switch them, the ECU will think that the engine is at Wide open throttle when its actually at idle. I highly recommend soldering and heat shrinking any electrical connections you will be making because it is very possible for connectors to come loose from all the vibration and solder will hold up better in the long run. Also, the TPS and EACV plugs are too short and they'll have to be extended. You're also going to have to switch the manifold support bracket, since the bolt parrern from the support to manifold is different from DX to SI, although they still bolt up on the block the same.
TO HOOK UP THE MULTI-POINT CRANK ANGLE SENSOR:
- First, you'll have to go to the passengers foot well to where the ecu is located.
- Pin B10 and B12 should both be empty.
- You'll have to cut and move the wire that goes to pin C1(orange) over to pin B10, and move the wire from pin C2(white) over to pin B12. Don't get these two mixed up or else the ignition timing will be severly retarded. Leave enough wire at the ECU side of pin C1 and C2 for next step.
- Now run wires from pins C1 and C2 into the engine compartment and label them.
- There will be a connector on the new Si distributor with two unused pins. One of the wires will be blue/green stripe, and the other will be blue/yellow stripe.
- The wire that is blue/green stripe will go to the wire from pin C1 on the ECU and the other wire that is blue/yellow stripe will go to the wire from pin C2.
 SWITCHING THE WIRES AT THE TPS:
This pretty much explains itself, just switch the two outside wires(green/white and yellow/white) around at the TPS and then you're done this step. I used the TPS connector off the Si harness, just so that I could just match up all the wires, since the wires are already reversed on it.
INJECTOR WIRING
(In the car):
First of all, while you're still in the passengers foot well, cut wires A3(yellow) and A7(red), although leave some wire on the ECU side for later use. Now run wires from pins A3 and A7 into the engine compartment and label them.
(Engine Compartment):
- Mount the injector resistor box up on the drivers side shock tower.
- Connect the yellow/black wires from the two DPFI injector harnesses and run it to the yellow/black wire on the injector resistor box.
- Connect the yellow wire from the DX injector to the #1 injector (brown wire).
- Connect the red wire from the DX injector and run it to the #3 injector (blue wire).
- Connect the wire you labelled A3 to the #2 injector (red wire).
- Connect the wire labelled A7 to the #4 injector (yellow wire).
- Then, connect the 4 red/black wires coming from injector resistor box to each of the four injectors.
SWITCHING THE WIRES AT THE TPS:
This pretty much explains itself, just switch the two outside wires(green/white and yellow/white) around at the TPS and then you're done this step. I used the TPS connector off the Si harness, just so that I could just match up all the wires, since the wires are already reversed on it.
INJECTOR WIRING
(In the car):
First of all, while you're still in the passengers foot well, cut wires A3(yellow) and A7(red), although leave some wire on the ECU side for later use. Now run wires from pins A3 and A7 into the engine compartment and label them.
(Engine Compartment):
- Mount the injector resistor box up on the drivers side shock tower.
- Connect the yellow/black wires from the two DPFI injector harnesses and run it to the yellow/black wire on the injector resistor box.
- Connect the yellow wire from the DX injector to the #1 injector (brown wire).
- Connect the red wire from the DX injector and run it to the #3 injector (blue wire).
- Connect the wire you labelled A3 to the #2 injector (red wire).
- Connect the wire labelled A7 to the #4 injector (yellow wire).
- Then, connect the 4 red/black wires coming from injector resistor box to each of the four injectors.
Completed Wiring Diagram
 Distributor wiring completed
 You should have three extra plugs left over after you are done the swap. two of them are the old DPFI injector plugs, and the other one is for the tandem valve for the DPFI system, which you do not use on the MPFI system, you can either just cut it off, or tuck it away somewhere.

OBD1 ECU PINOUT
The # go up and down from left to right.(see)
 Another thing make sure you have extra pin inputs since you will cutting the wire and not taking the complete wire out of its socket.