
Valve Cover
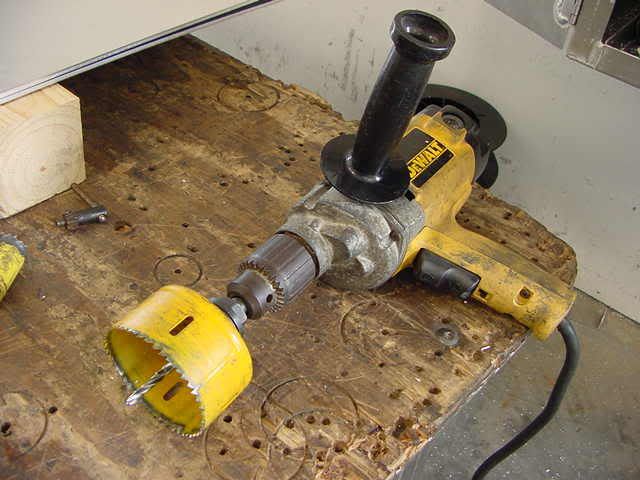
Drill
1/8 bit
3 1/2" hole saw& bit;----- Seems to be the perfect size

Pilot bit holder thingy (don't know the exact name, sorry)
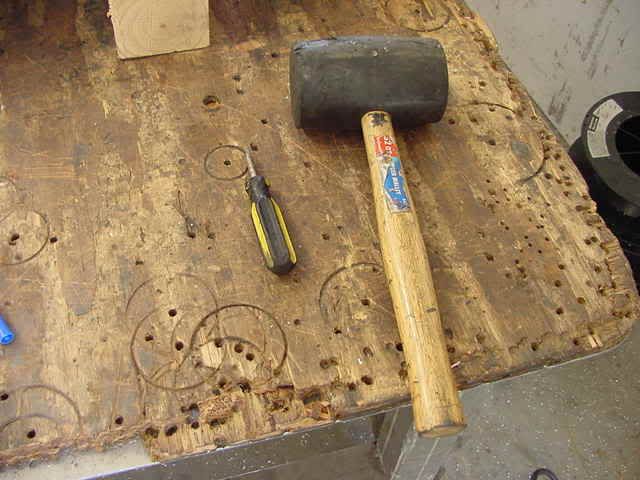
Hammer
Punch (or Phillips screw driver)
A buddy (or a vice)
Optional: A file to smooth down the edges.
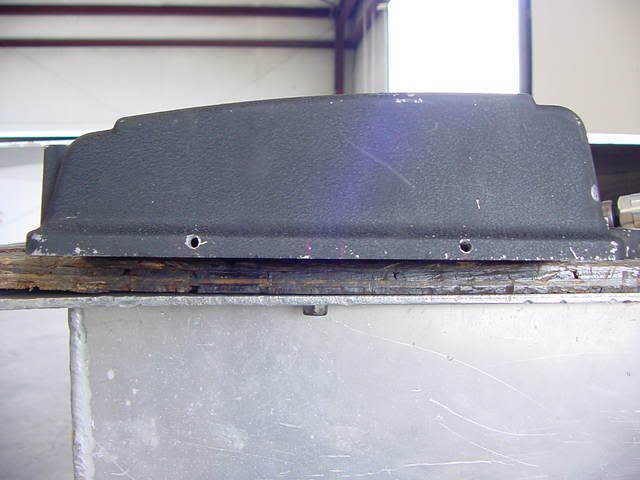
Step 1: Locate your valve cover, remove it and get your tools ready to modify your valve cover!!!
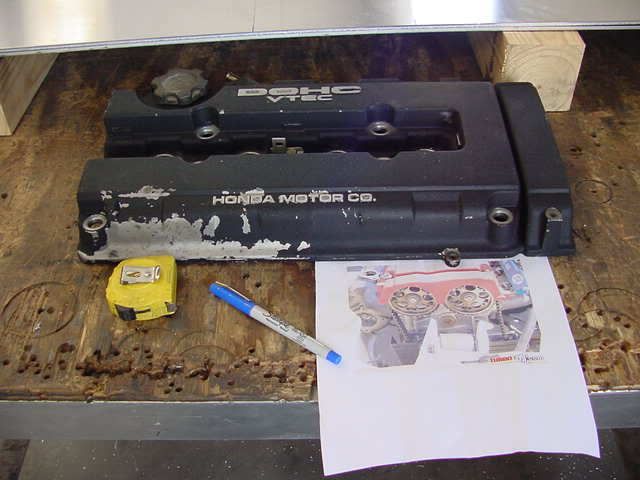
What your starting out with. I used the pic as a size reference for the cam gears.
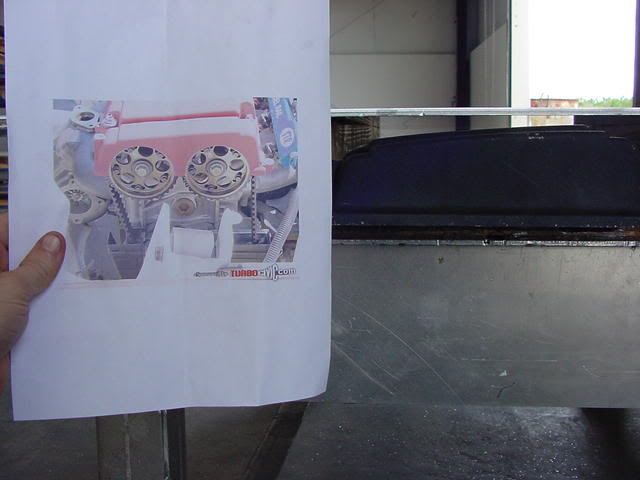
Step 2: Measure to find the center of the cams. To the center of the lil slot, it's 2 5/8", approx. May be a 1/16th off or so.

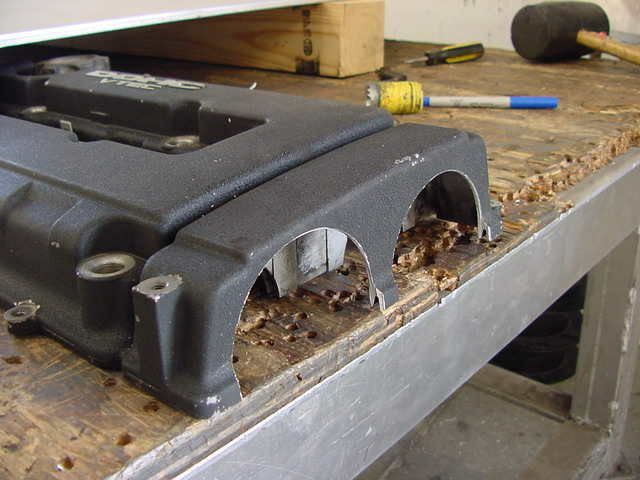
Step 3: Indent the valve cover where your going to drill, and drill a pilot hole. I made my indentions, using the hammer and a punch, about at the top of the lil ridge on the valve cover. Reference t3h pic plz.
Step 4: Put the hole saw on the drill w/the pilot bit. Using a buddy or a vice (I used my good friend Dan) secure the valve cover so it won't move, muster up some courage and start cutting the valve cover. Maybe you'll end up with something like this.
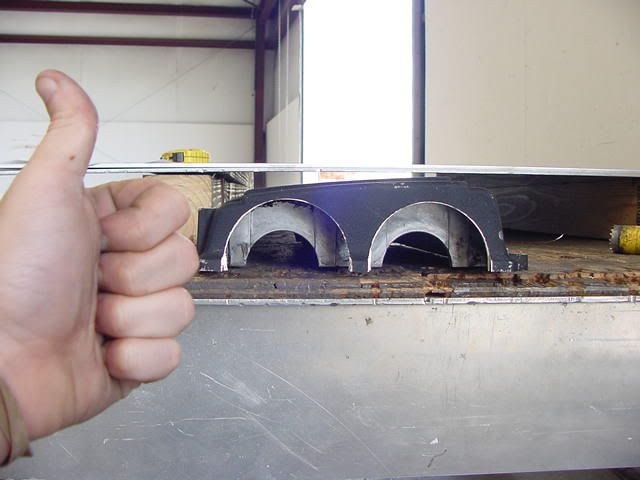
You know I gotta throw a thumbs up in there

Step 5: Optional: Using a file, file down the Sharpe edges till they are smooth. Don't want to possibly knick your timing belt when you re-install your valve cover. This may keep you from possibly cutting yourself too
Step 5 (or Step 6 if optional step is used): Clean the valve cover. Don't want any bits of metal in your engine do you? I didn't think so. Clean it as best as you can.
No comments:
Post a Comment