Tuesday, January 1, 2013
How to Replace a wheel bearing on a Acura Integra
Things You'll Need
Lug wrench
Jack
Socket wrench
Metric socket set
Ball joint remover
Bearing remover
Bearing press
Plastic hammer
Torque wrench
breaker bar
Instructions
1 Loosen the lug nuts. Raise the vehicle with a jack and remove the wheel. The jack point is a thicker, reinforced edge at the bottom of the body panel directly behind the
front wheel.
2 Remove the bolts from the brake caliper and hang the caliper from a length of scrap wire. Do not allow it to hang from the brake line.
3 Remove the disc by unscrewing the retaining screws and driving a pair of 8mm bolts through the disc, pushing it away from the hub.
4 Remove the anti lock brake sensor and wire bracket from the steering knuckle.
5 Remove the upper and lower ball joints.
6 Pull the steering knuckle outward. Disconnect the drive shaft joint with a plastic hammer to fully remove the knuckle.
7 Remove the circular clip that holds the bearing in place. Push the bearing out of the steering knuckle. Remove the inner race with a bearing remover tool.
8 Press the replacement bearing and track into the knuckle with a bearing press. Install the clip. Reinstall the steering knuckle, attach the wheel and lower the vehicle.
How to Moon cut your valve cover
Tools needed:
Valve Cover
Drill
1/8 bit
3 1/2" hole saw& bit;----- Seems to be the perfect size
Pilot bit holder thingy (don't know the exact name, sorry)
Hammer
Punch (or Phillips screw driver)
A buddy (or a vice)
Optional: A file to smooth down the edges.
Step 1: Locate your valve cover, remove it and get your tools ready to modify your valve cover!!!
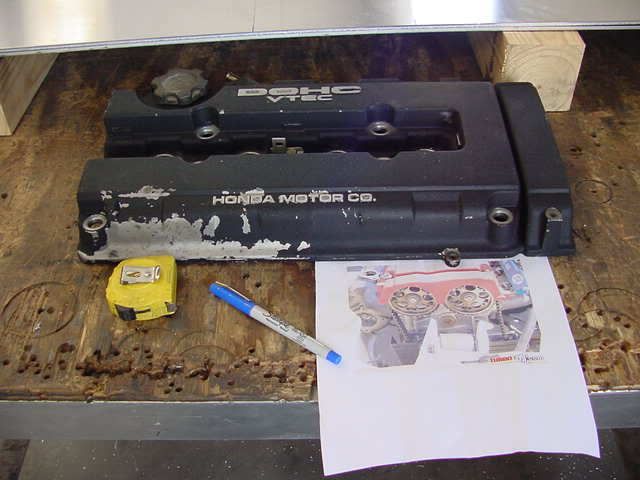
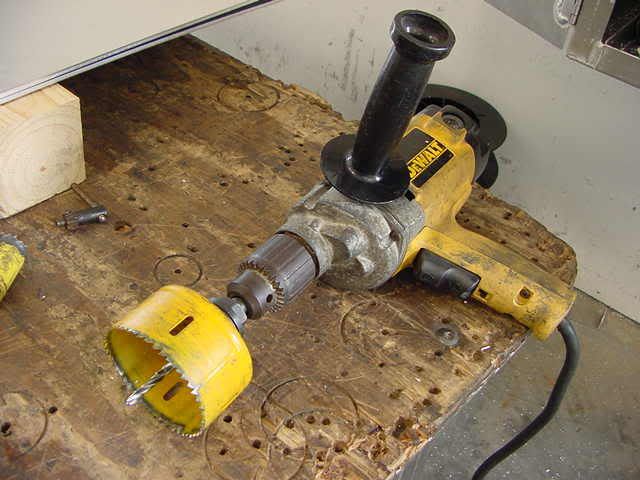
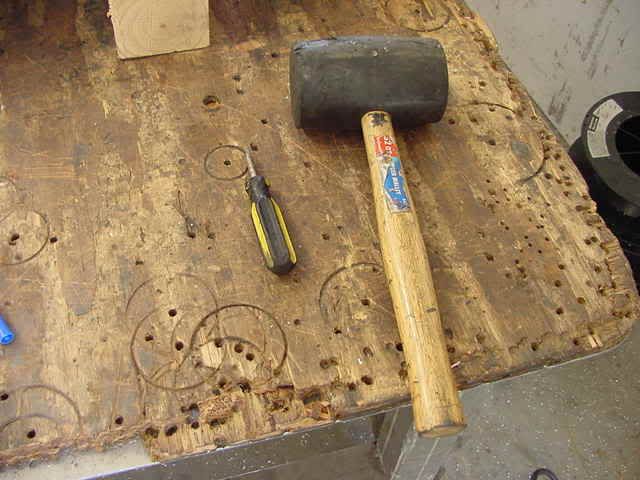
What your starting out with. I used the pic as a size reference for the cam gears.
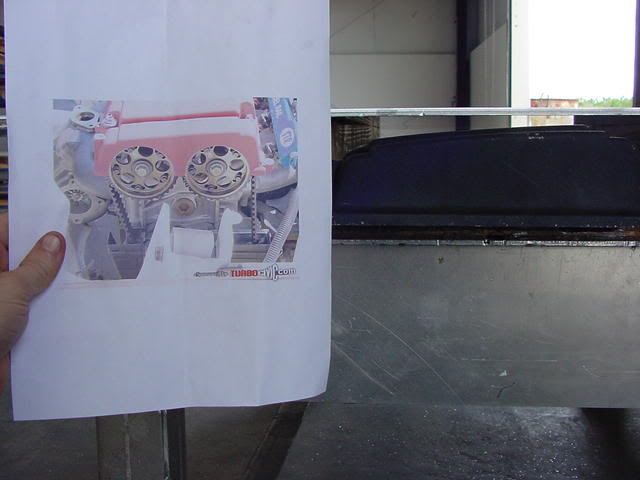
Step 2: Measure to find the center of the cams. To the center of the lil slot, it's 2 5/8", approx. May be a 1/16th off or so.
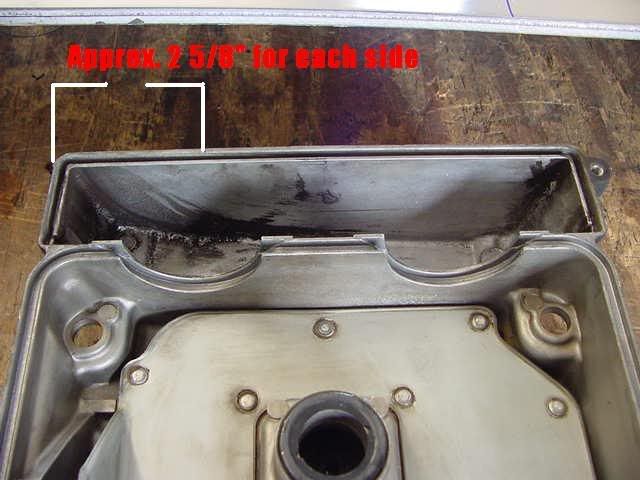
Step 3: Indent the valve cover where your going to drill, and drill a pilot hole. I made my indentions, using the hammer and a punch, about at the top of the lil ridge on the valve cover. Reference t3h pic plz.
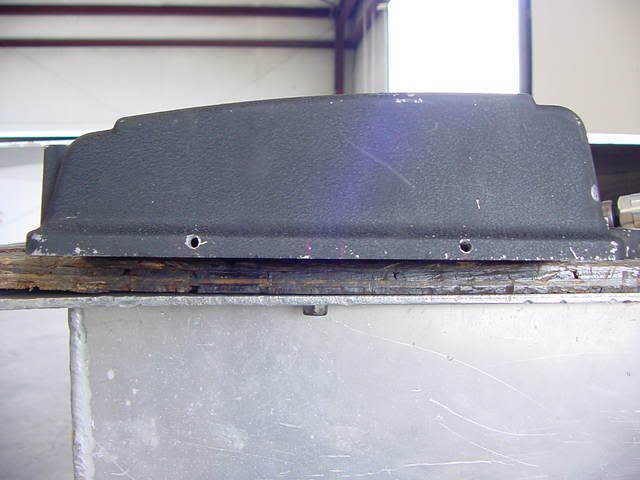
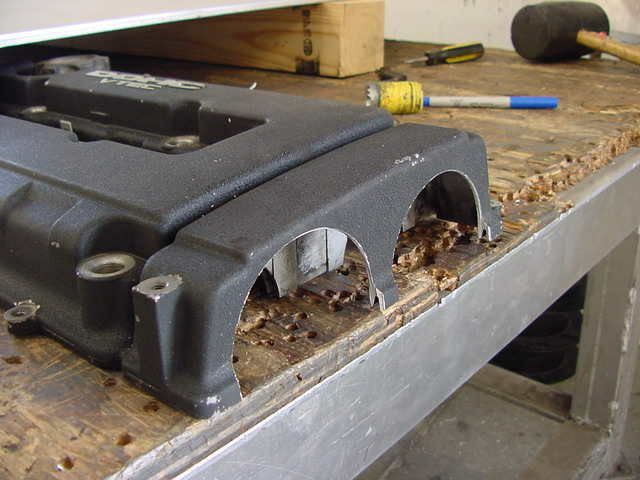
Step 4: Put the hole saw on the drill w/the pilot bit. Using a buddy or a vice (I used my good friend Dan) secure the valve cover so it won't move, muster up some courage and start cutting the valve cover. Maybe you'll end up with something like this.
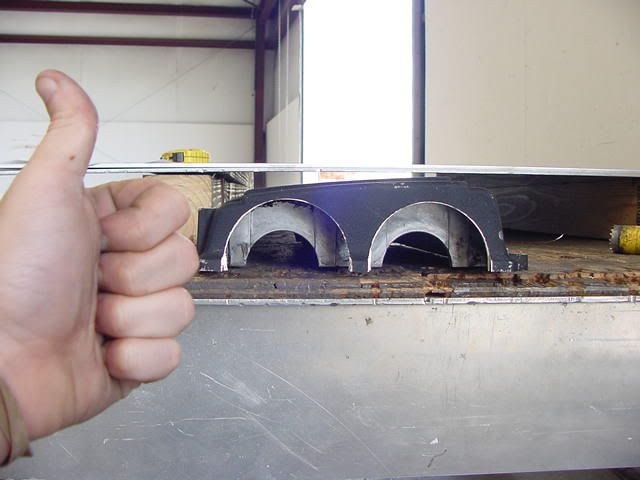
You know I gotta throw a thumbs up in there
Step 5: Optional: Using a file, file down the Sharpe edges till they are smooth. Don't want to possibly knick your timing belt when you re-install your valve cover. This may keep you from possibly cutting yourself too
Step 5 (or Step 6 if optional step is used): Clean the valve cover. Don't want any bits of metal in your engine do you? I didn't think so. Clean it as best as you can.
Valve Cover
Drill
1/8 bit
3 1/2" hole saw& bit;----- Seems to be the perfect size

Pilot bit holder thingy (don't know the exact name, sorry)
Hammer
Punch (or Phillips screw driver)
A buddy (or a vice)
Optional: A file to smooth down the edges.
Step 1: Locate your valve cover, remove it and get your tools ready to modify your valve cover!!!


What your starting out with. I used the pic as a size reference for the cam gears.

Step 2: Measure to find the center of the cams. To the center of the lil slot, it's 2 5/8", approx. May be a 1/16th off or so.

Step 3: Indent the valve cover where your going to drill, and drill a pilot hole. I made my indentions, using the hammer and a punch, about at the top of the lil ridge on the valve cover. Reference t3h pic plz.

Step 4: Put the hole saw on the drill w/the pilot bit. Using a buddy or a vice (I used my good friend Dan) secure the valve cover so it won't move, muster up some courage and start cutting the valve cover. Maybe you'll end up with something like this.

You know I gotta throw a thumbs up in there


Step 5: Optional: Using a file, file down the Sharpe edges till they are smooth. Don't want to possibly knick your timing belt when you re-install your valve cover. This may keep you from possibly cutting yourself too
Step 5 (or Step 6 if optional step is used): Clean the valve cover. Don't want any bits of metal in your engine do you? I didn't think so. Clean it as best as you can.
how to replace a wheel stud on a Honda
How to replace/remove your wheel studs
Have you ever want to replace your wheel studs? Or just wanted extended ones. Well here are the direction for the easiest way to change them. The wheel Stud comes out just like a bolt. Unfortunately without taking the whole hub apart you have to grind the stud and the hub down so that you can slide them in there. It's really not that big of a deal.
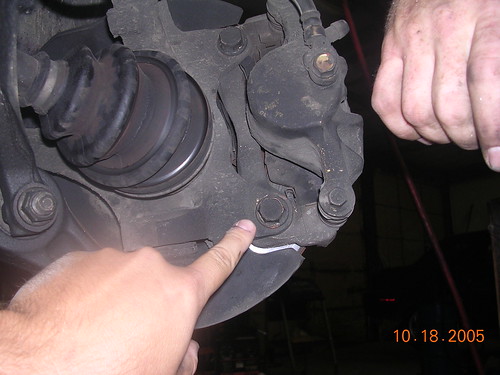
Take the wheel off and get behind the Caliper. Take these bolts off.
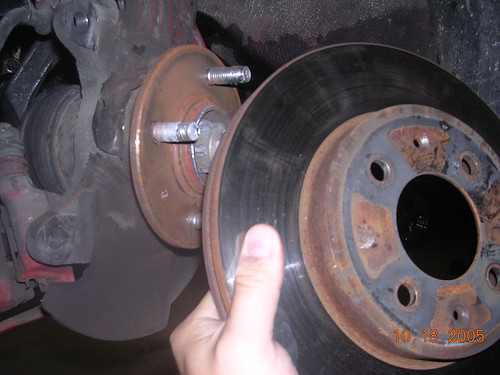
Take the disc off.
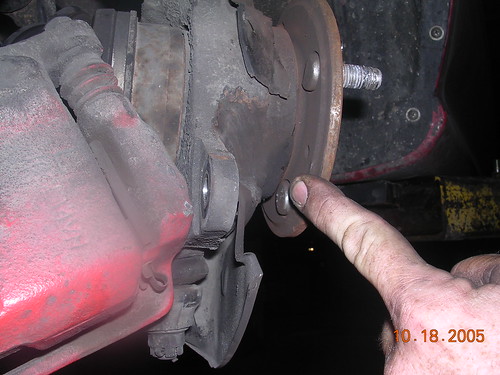
You can see here where it is grinded (ground?) down so that you can slide it past. Turn the rotor so that the bad wheel stud is here and beat it out.
Wheel stud before. These are like 99 cents from your local parts store, maybe $1.99.
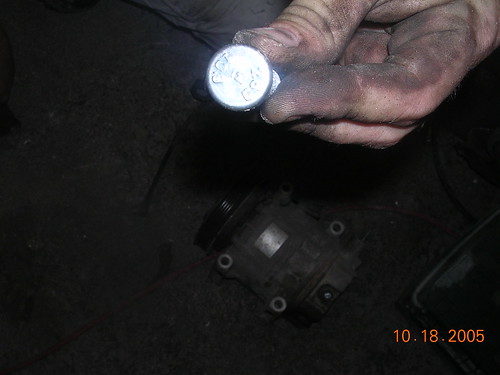
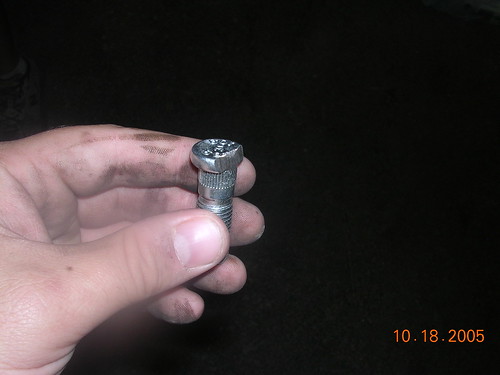
Grind it down pretty good to where it is almost flat on one side. Hold it with something 'cause it gets a little warm.

Wheel stud after.
Now wiggle it in, grind to grind.

Now you need to get some sort of spacer to pull the stud into place. I used a nut here that is bigger than the lug. Put it on the stud and then tighten the lug down on it and it will pull the stud in tight where it needs to be.

Have you ever want to replace your wheel studs? Or just wanted extended ones. Well here are the direction for the easiest way to change them. The wheel Stud comes out just like a bolt. Unfortunately without taking the whole hub apart you have to grind the stud and the hub down so that you can slide them in there. It's really not that big of a deal.
Take the wheel off and get behind the Caliper. Take these bolts off.

Take the disc off.

You can see here where it is grinded (ground?) down so that you can slide it past. Turn the rotor so that the bad wheel stud is here and beat it out.

Wheel stud before. These are like 99 cents from your local parts store, maybe $1.99.

Grind it down pretty good to where it is almost flat on one side. Hold it with something 'cause it gets a little warm.

Wheel stud after.

Now wiggle it in, grind to grind.

Now you need to get some sort of spacer to pull the stud into place. I used a nut here that is bigger than the lug. Put it on the stud and then tighten the lug down on it and it will pull the stud in tight where it needs to be.

Subscribe to:
Comments (Atom)

.jpg)
